JSON Web Token (JWT) is a URL-secure method of representing claims to be transferred between two parties. The claims in a JWT are encoded as a JSON object that is used as the payload of a JSON Web Signature (JWS), or as a JSON web encryption (JWE) structure in plain text. This enables the claims to be digitally signed and integrity protected with a message authentication code (MAC). Because the token is signed, you can trust the information and its source. MuleSoft API management has a JWT token validation policy that can valid any standard JWT token. In our use case, we have used Amazon connect as the authorization service. However, the steps should be similar for any standard JWT authorization service.
The JWT Validation policy validates the signature of the token and asserts the values of the claims of all incoming requests by using a JWT with JWS format. The policy does not validate JWT that uses JWE. (Reference: docs.mulesoft.com).
Introduction
This document will give you a very high level idea of the MuleSoft JWT Validation Policy, primarily how it works. We tried to hide some technical complexity to make general people understanding the steps instead of focusing on correctness technically.
How JWT works
Given that we are using an authorization service (e.g. Amazon Cognito) and we need to authorize the access before consuming a MuleSoft API. The consumer first provides its identity and asks for a valid token from authorization service, usually through a token endpoint.
MuleSoft API can be secured JWT token validation policy. When consumer consumes the MuleSoft API with a valid JWT token, the JWT policy intercept the request and validate it before forwarding the request to the MuleSoft API implementation. It also validate the signature of the token with the help of the public key provided by the authorization service. Here are the usual steps of token validation process.
High-Level Diagram
How to configure the JWT Validation Policy
a) JWT origin
Select the Origin of the JWT. You can keep the default selection “HTTP Bearer Authentication Header”. This one is commonly used and standard.
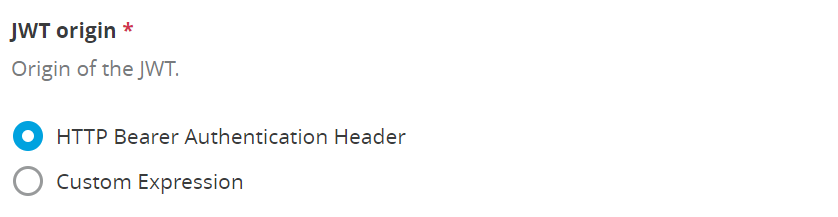
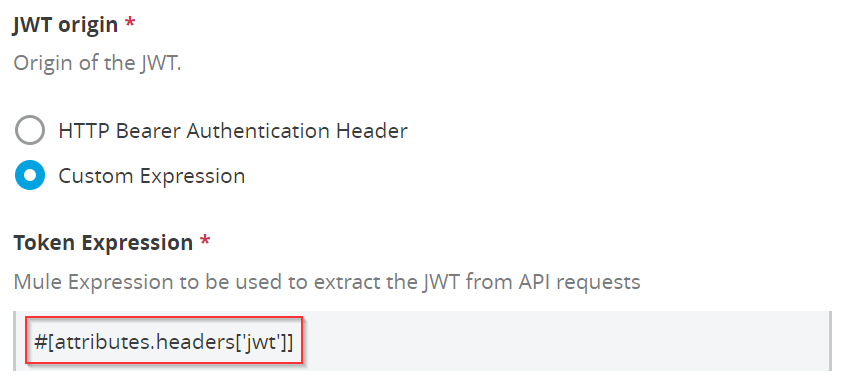
Or you can select the “Custom Expression”. In this case, you need to define the Mule Expression.
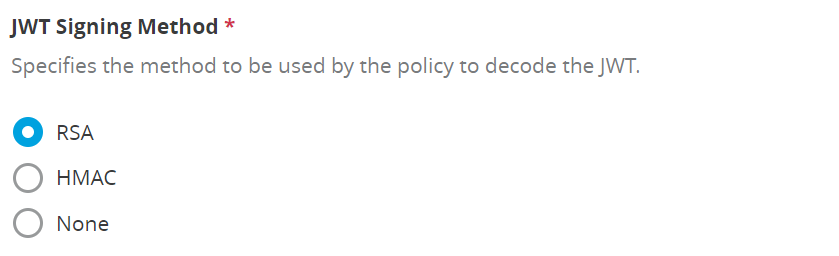
b) JWT Signing Method
It’s basically about the cryptography algorithm. You need to select an algorithm for decoding the JWT. The default selection is “RSA”.
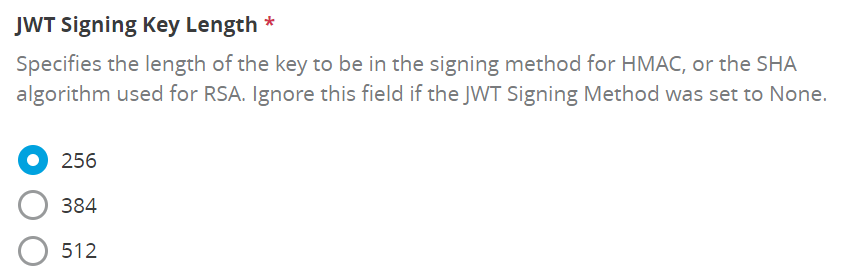
c) JWT Signing Key Length
Specify the length of the key.
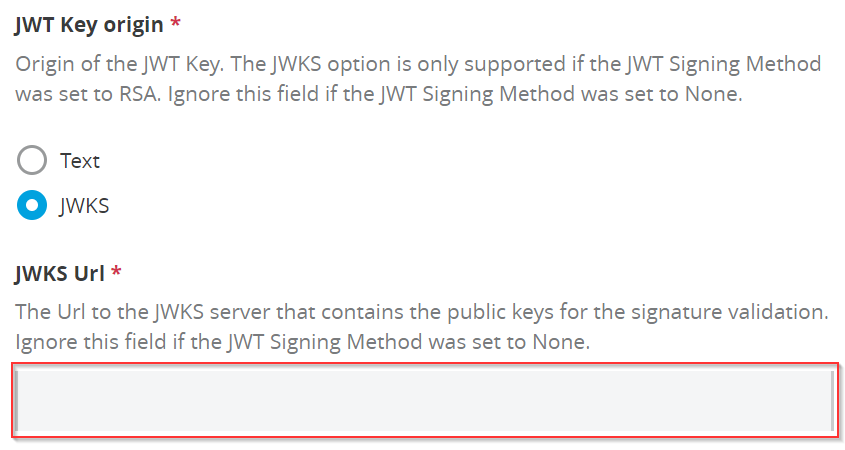
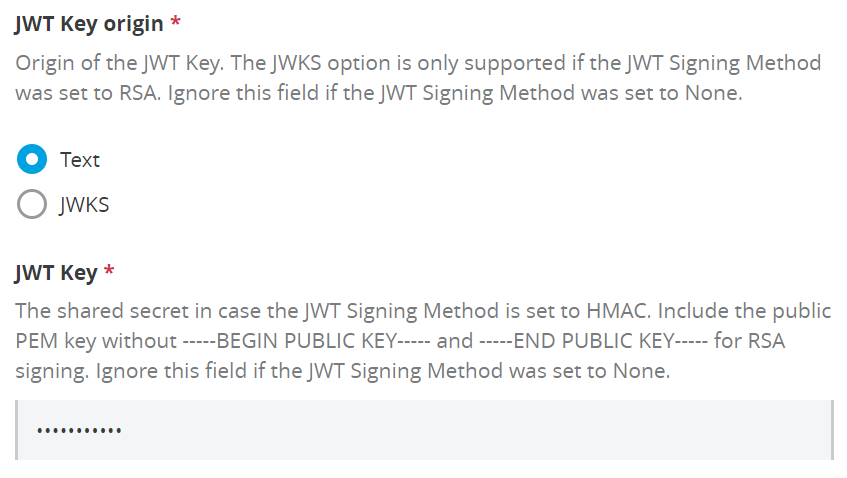
d) JWT Key origin
Provide the JWKS server if you select the “JWKS” which will contain the public key in order to signature validation.
Or you can provide the public key to validate the signature by selecting “Text”.
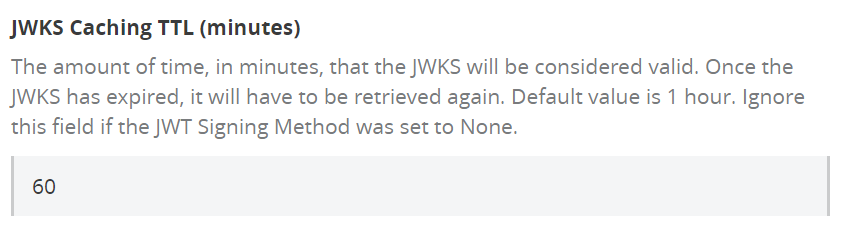
e) JWKS Caching TTL (minutes)
Enter the validation duration of JWKS in minutes.
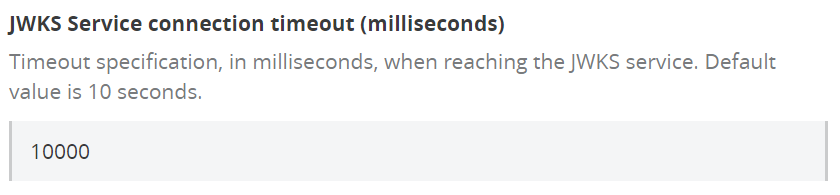
f) JWKS Service connection timeout (milliseconds)
Set timeout for reaching to JWKS service.
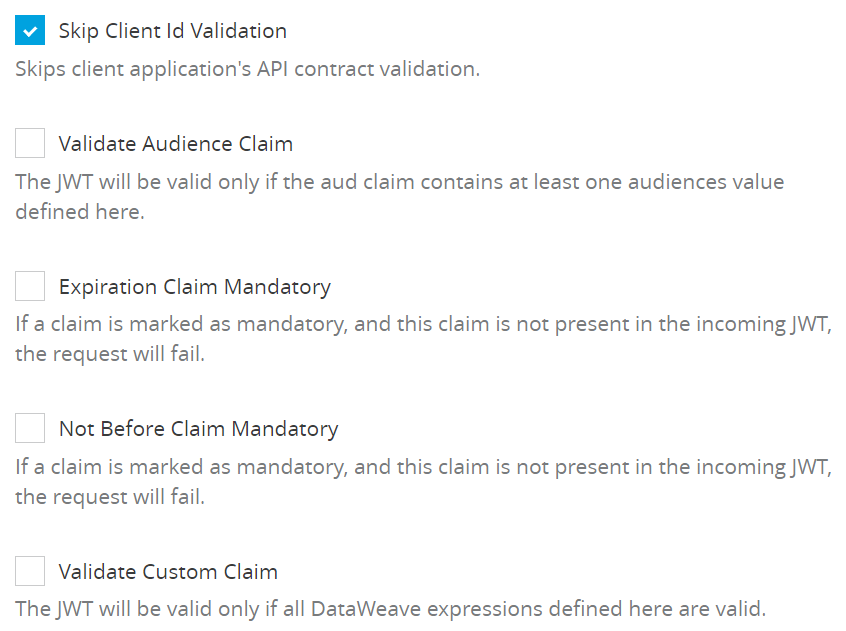
g) Skip Client Id Validation
Select and configure these if you need them.
But, this is the default setting. Skip the Client Id validation even it’s available in the API contract
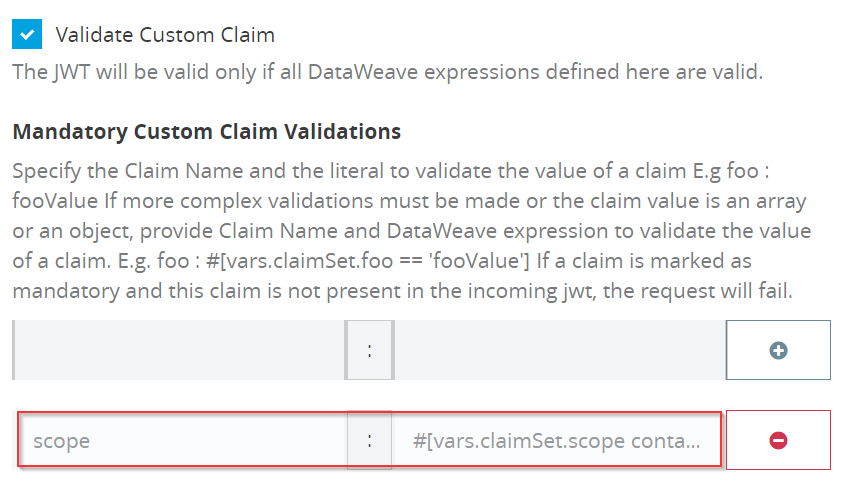
h) Validate Custom Claim
You can define the Custom Claim. There are two types of Custom claims- Mandatory and Non Mandatory.
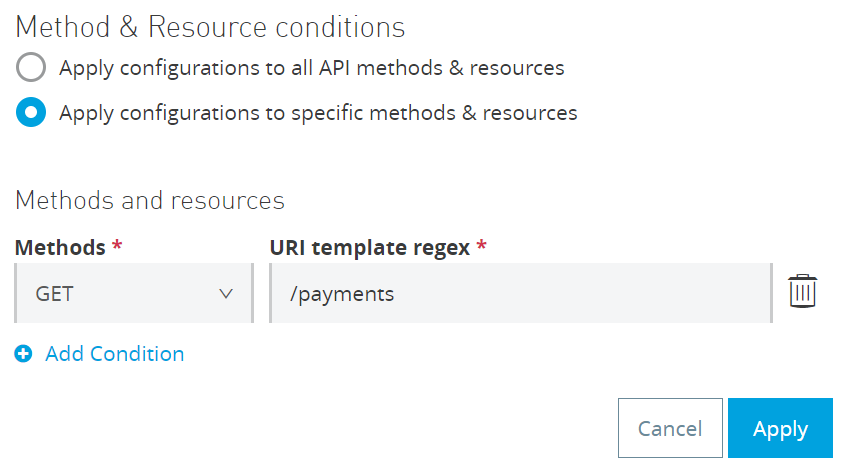
i) Method & Resource conditions
By default, you can apply to all API methods and resources.
But, it can be configured to specific methods and resources.
Detailed Diagram
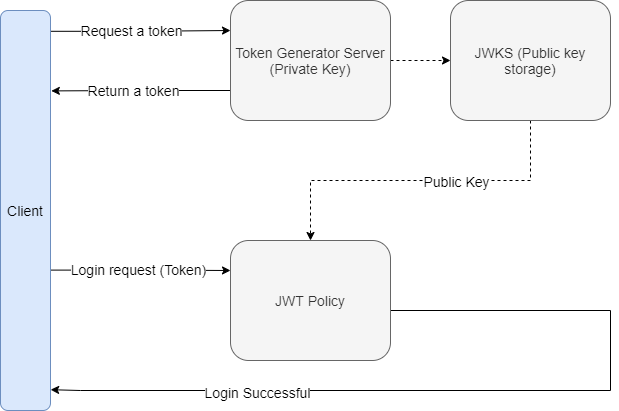
This diagram will give you more insight into how the entire process works.
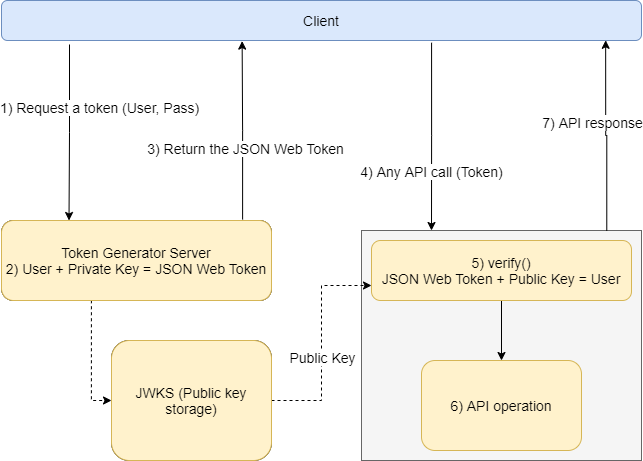
- Get a token: The client will send a request to the Token Generator Server with the Username and Password.
- Generate a token: The Token Generator Server will generate the token using the Private key and the Username. Token = Primary key + Username. Then return it to the client.
- JWKS (Public key storage): A Public key will be stored here which will be used to decode the token and find out the Username.
- Signature validation: The client will call any API with the token. Before going to the actual API, the Policy will verify the token and will find out the Username. Username = Token + Public Key
- API Operation: Once the verification is done, the request will be forwarded to the actual API implementation.
To recap, we have seen how JWT works, how we can configure it and what the detailed overview looks like. Check in for more integration related content.